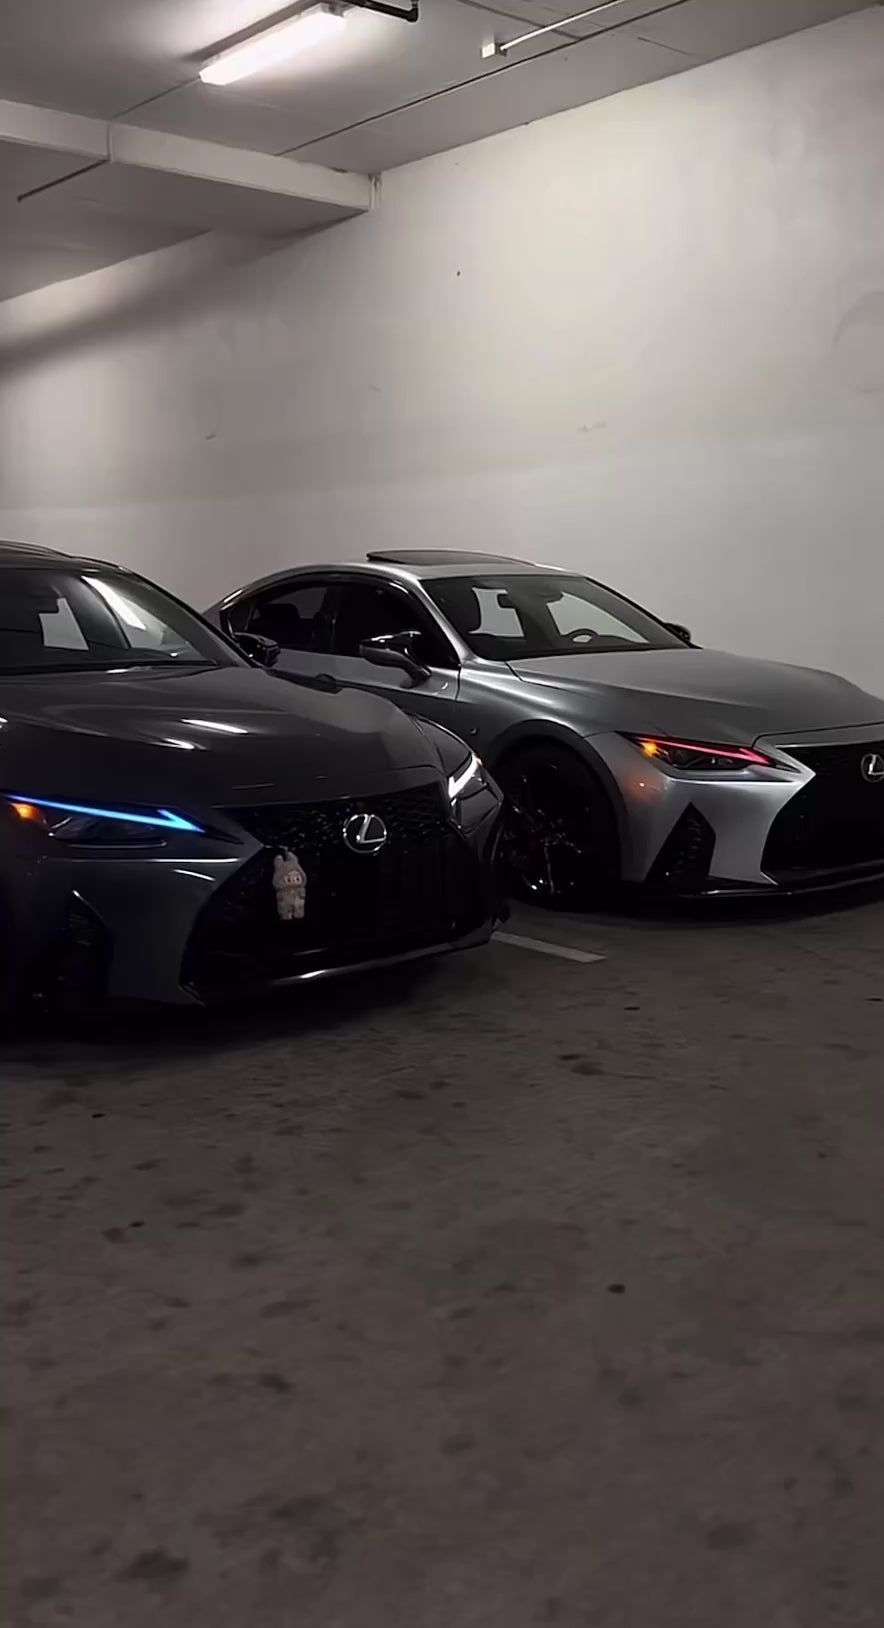
Set of 2 Premium Pre-Cut DRL Headlight Tint Overlays
Upgrade your vehicle’s appearance without spending a fortune. Why pay for costly headlight modifications when Vinyl Flare offers a sleek, affordable solution? Our pre-cut DRL tint overlays install effortlessly and deliver a modern, custom look at a fraction of the cost.
Each kit is precision-engineered to fit the DRL section of your headlights for a perfect, hassle-free application. No complicated trimming or guesswork—just a clean, professional finish every time.
Crafted from high-quality, heat-resistant vinyl, these overlays are built for daily driving. They not only add bold style but also help shield your DRLs from UV rays, scratches, and road debris.
Highlights
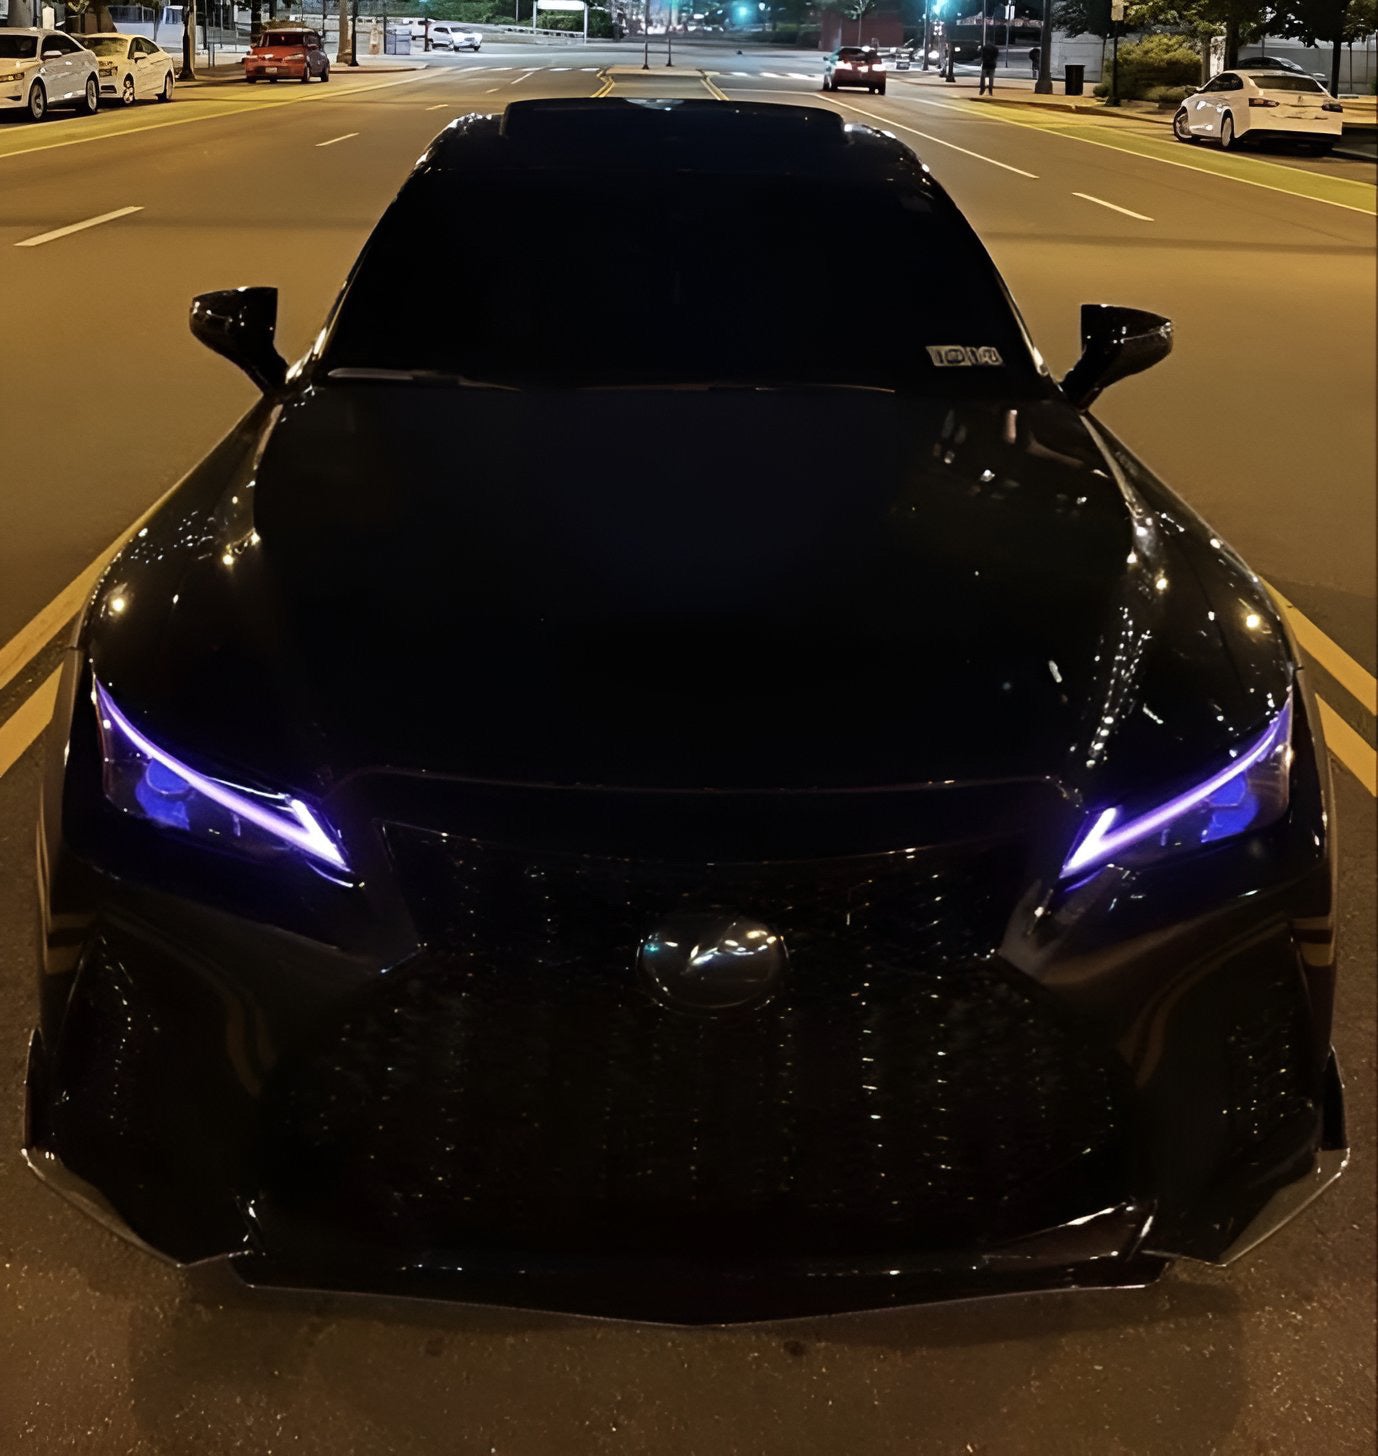
Sleek tinted finish for DRLs
Pressure-activated adhesive for easy adjustment
9-year rated durability and weather resistance
Multiple colors and transparency options
Designed for flat and lightly curved surfaces
Why Tint Your DRLs?
Protection – Guard against chips, scratches, and sun fading.
Customization – Choose from different shades and colors to match your build.
DIY Friendly – Pre-cut design makes installation simple for beginners or pros.
Durability – Withstands heat, car washes, and road conditions for years.
Installation Guide
Preparation
Clean the surface with mild soap and water, then wipe with isopropyl alcohol.
Ensure the surface is smooth, dry, and free of dust or oils.
Best install temperature: 50°F–77°F.
Dry Method
Align the overlay and secure with masking tape if needed.
Remove backing paper and apply from one edge, smoothing with a squeegee.
Use heat (blow dryer/heat gun) to set edges and remove bubbles.
Wet Method
Mix a mild soap solution (few drops of dish soap in water).
Mist both the DRL and adhesive side of the overlay.
Position the vinyl, then squeegee fluid and bubbles outward.
Let it settle 15–20 minutes, then apply gentle heat to lock it in place.
Aftercare
Avoid car washes or heavy moisture for 24–48 hours.